
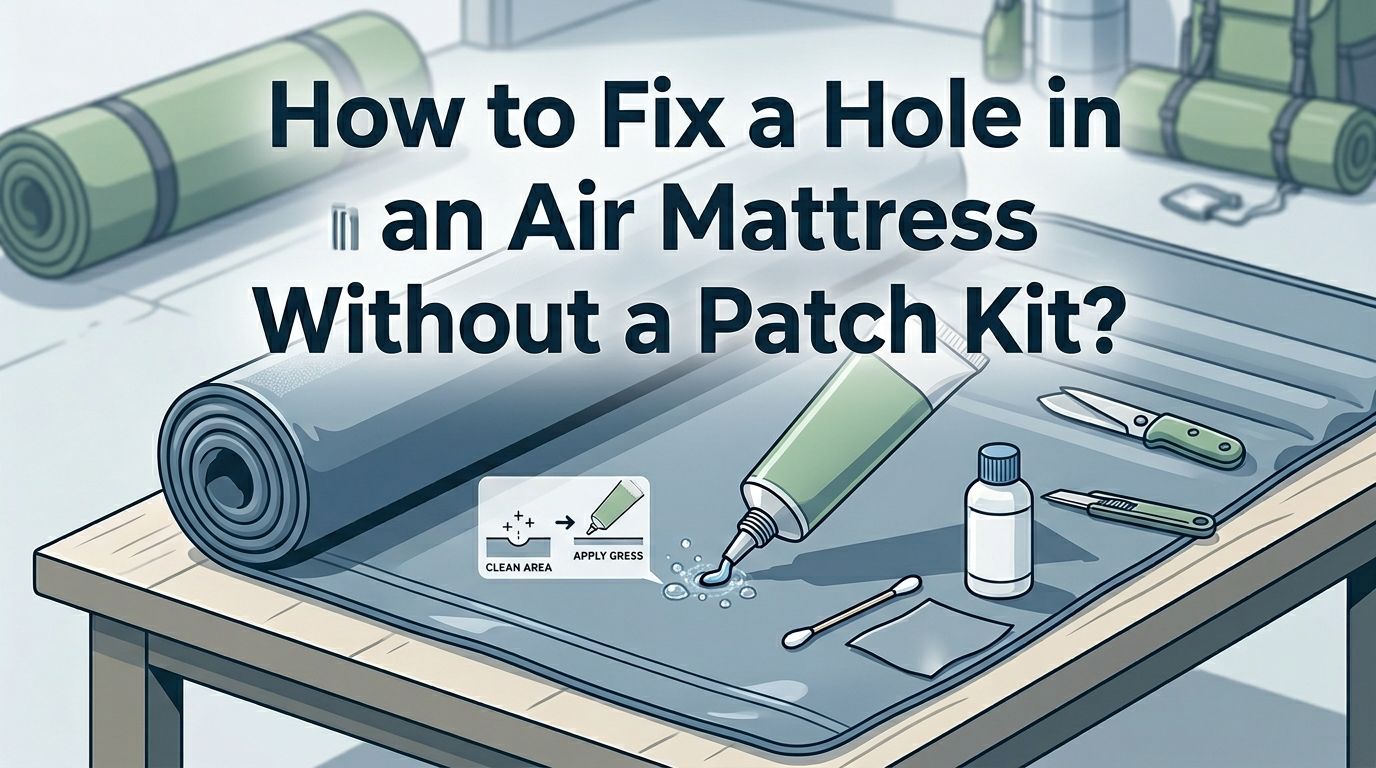
How to Fix a Hole in an Air Mattress Without a Patch Kit?
You just laid down on your air mattress after a long day. An hour later, you wake up on the floor. The mattress is flat. Sound familiar? A leaky air mattress is one of the most frustrating problems you can face, especially late at night or during a camping trip. The worst part? You have no patch kit.
The good news is you do not need a store bought repair kit to fix your air mattress. Several common household items work just as well for sealing small holes and tears. From super glue and duct tape to hot glue and nail polish, you likely already have what you need sitting in a drawer or cabinet.
This guide walks you through every step of the repair process. You will learn how to find the leak, prepare the surface, and apply different fixes that actually hold.
In a Nutshell
- You can fix most air mattress leaks with items you already own. Super glue, hot glue, duct tape, nail polish, and even a shower curtain liner can serve as effective repair materials. The key is matching the right method to the size and location of the hole.
- Finding the leak is the most important first step. Use the soapy water method by mixing dish soap and water in a spray bottle. Spray the inflated mattress surface and watch for bubbles. Mark the spot with a permanent marker as soon as you find it.
- Surface preparation makes or breaks the repair. Always deflate the mattress, clean the area around the hole with rubbing alcohol or soapy water, and let it dry completely before applying any fix. Skipping this step will cause most repairs to fail.
- Some methods are temporary and some are longer lasting. Duct tape is a fast overnight fix but tends to peel off within a few days. Super glue and DIY patches made from shower curtain material can last several weeks or more with proper application.
- Seam leaks and valve leaks need different approaches. Super glue works well on seam tears. Valve leaks often cannot be fixed at home and may require a mattress replacement.
- Always allow full drying or curing time before reinflating. Rushing the process leads to weak seals and repeated leaks. Most adhesives need at least 6 to 8 hours to fully bond.
How to Find the Leak in Your Air Mattress
Before you fix anything, you need to find the hole. Inflate the mattress fully and place it in a quiet room. Run your hand slowly across every surface. Feel for a stream of escaping air. Pay close attention to the seams and the bottom of the mattress since most punctures happen there.
If you cannot feel the leak, try the soapy water method. Mix a few drops of dish soap with water in a spray bottle. Spray the solution across the mattress surface in small sections. Watch carefully for tiny bubbles forming on the surface. Bubbles mean air is escaping from that exact spot.
Once you find the hole, circle it with a permanent marker right away. This saves you from losing the spot later. Also check the valve area by pressing around the plug and nozzle. A faulty valve can cause air loss even when there is no hole in the mattress material itself.
Pros: The soapy water method is cheap, fast, and highly accurate for pinhole leaks.
Cons: Large surface areas take time to spray and inspect. Water must dry fully before repair begins.
How to Prepare the Mattress Surface for Repair
Preparation is the step most people skip, and it is the reason most DIY repairs fail. Start by fully deflating the mattress. Press out as much air as possible. A flat surface gives you better control when applying glue or tape.
Next, clean the area around the hole. Use rubbing alcohol or soapy water and a clean cloth. Wipe a circle about two inches wider than the hole in every direction. This removes dirt, oils, and dust that prevent adhesives from bonding properly.
Let the area dry completely. This is critical. Even a small amount of moisture will weaken the seal. If you are in a hurry, use a hair dryer on a cool setting to speed up the drying process. Do not use heat, as it can warp or damage the vinyl.
For mattresses with a flocked or fuzzy top surface, lightly sand the area around the hole with fine grit sandpaper. This removes the fabric layer and exposes the smooth vinyl beneath. Adhesives stick much better to bare vinyl than to flocked fabric.
How to Fix an Air Mattress Hole With Super Glue
Super glue is one of the most effective household solutions for small air mattress punctures. It bonds fast, dries hard, and creates an airtight seal on vinyl and plastic surfaces.
Apply a small drop of super glue directly onto the hole. Use your finger to quickly spread it across the puncture in a thin layer. Rub the glue until it starts to set. This process takes about 30 to 60 seconds. For seam leaks, pinch or fold the seam closed and apply super glue along the pressed edge. Hold it firmly for two minutes.
Let the glue cure for at least 6 to 8 hours before inflating. Overnight is best. Once cured, super glue forms a rigid seal that holds well under pressure.
Pros: Sets quickly, creates a strong bond, and works on both holes and seam tears. You likely already have it at home.
Cons: Not flexible once dried, so it may crack under heavy movement. Does not work well on large tears bigger than a quarter inch.
How to Seal an Air Mattress Leak With Hot Glue
A hot glue gun offers another solid fix for air mattress holes. This method works best on small to medium punctures on the smooth vinyl side of the mattress.
Set your glue gun to low temperature to avoid melting or warping the mattress material. Once the gun is ready, apply a generous bead of hot glue directly over the hole. Spread it slightly beyond the edges of the puncture to create a wider seal. Work quickly because hot glue cools and hardens fast.
Press the glue flat with a smooth object like the back of a spoon. This helps it bond tightly to the surface. Let it cool and harden for at least 30 minutes before testing. For extra strength, apply a second layer of hot glue over the first once it has cooled.
Pros: Bonds fast, fills small gaps well, and forms a flexible seal that moves with the mattress.
Cons: Can peel off over time with regular use. High temperature settings may damage the vinyl.
How to Patch an Air Mattress With Duct Tape
Duct tape is the classic emergency fix that almost everyone has at home. It is best used as a short term solution while you wait for a proper repair kit or replacement.
Cut a piece of duct tape large enough to cover the hole with at least one inch of overlap on all sides. Round the corners of the tape with scissors. Square corners tend to peel up faster than rounded ones. Press the tape firmly onto the clean, dry surface of the deflated mattress.
Smooth out any air bubbles trapped under the tape. Place a heavy book or flat object on top of the tape for 10 to 15 minutes. This helps the adhesive bond fully. For extra hold, apply a second strip of tape over the first.
Pros: Instant fix, no drying time required, and available in almost every household. Great for one or two night emergency use.
Cons: Adhesive weakens with pressure and body heat. Tape edges peel within a few days on most surfaces. Not a reliable long term solution.
How to Repair an Air Mattress Using Nail Polish
Clear nail polish works surprisingly well on tiny pinholes and slow leaks. It acts as a liquid sealant that hardens into a waterproof layer over the puncture.
Make sure the mattress is deflated and the area is clean and dry. Apply a thin layer of clear nail polish directly over the hole. Let it dry for about 10 minutes. Then apply a second coat. Repeat for a total of three to four thin layers. Each layer adds strength and coverage.
Allow the final layer to dry for at least 8 hours before inflating the mattress. The hardened polish forms a small, rigid cap over the puncture that blocks air from escaping.
Pros: Easy to apply, dries clear, and works well for very small holes. Most people have a bottle in the bathroom.
Cons: Only effective on pinholes. Cannot seal tears, rips, or seam leaks. Becomes brittle over time and may crack.
How to Make a DIY Patch From a Shower Curtain Liner
If the hole is too large for glue alone, you can create your own patch using a thin plastic shower curtain liner. This method closely mimics a store bought patch kit and can last for weeks.
Cut a piece of the shower curtain liner into a circle or oval shape. Make it at least one inch larger than the hole on all sides. Apply a thin, even layer of super glue or rubber cement to both the patch and the mattress surface around the hole.
Wait about 30 seconds for the adhesive to become tacky. Then press the patch firmly onto the mattress. Smooth it from the center outward to push out air bubbles. Place a flat, heavy object on top and let it cure for at least 8 to 12 hours.
Pros: Creates a strong, airtight seal. Shower curtain material is flexible and bonds well to vinyl. Good for medium sized holes.
Cons: Requires strong adhesive. Cure time is longer. The patch may look visible on the surface.
How to Use an Old T Shirt as a Fabric Patch
An old cotton T shirt can serve as a makeshift patch if you do not have plastic material available. The fabric absorbs adhesive well and creates a strong bond with the mattress surface.
Cut a piece of fabric from the shirt. Make it about two inches larger than the hole in every direction. Apply super glue or a strong craft adhesive to both the back of the fabric and the area around the hole on the mattress. Apply the glue generously since fabric absorbs more adhesive than plastic.
Press the fabric onto the mattress and smooth it out completely. Place a heavy flat object on top and let it cure for 12 to 24 hours. The fabric patch is thicker than plastic, so it takes longer to dry but can form a surprisingly durable seal.
Pros: T shirts are easy to find and cut. The fabric patch is flexible and conforms well to curved surfaces.
Cons: Longer cure time required. May not be fully airtight if the adhesive does not saturate the fabric completely.
How to Fix a Seam Leak on an Air Mattress
Seam leaks are trickier than surface holes because the material at the seam is folded and thicker. Standard tape patches struggle to grip the uneven surface of a seam.
The best approach for a seam leak is super glue or rubber cement. Pinch the seam together at the leaking spot. Apply a line of super glue along the folded edge. Hold it firmly closed for at least two minutes while the glue begins to set. Do not let go too soon or the seam will spring open.
For added strength, apply a second layer of glue once the first layer dries. You can also reinforce the repair with a thin strip of duct tape pressed along the seam. Allow the full repair to cure for 8 to 12 hours before inflating.
Pros: Super glue bonds well to seam material and holds the fold closed.
Cons: Seam repairs are harder to execute cleanly. The rigid glue may crack with repeated folding of the mattress.
How to Check the Valve for Air Leaks
Sometimes the leak is not a hole at all. The valve or air plug can loosen over time and allow air to slowly escape. This is a common issue that people overlook.
Start by inflating the mattress. Press your ear close to the valve area and listen for a faint hissing sound. You can also spray soapy water around the valve and watch for bubbles. If the valve itself is leaking, try pushing it in firmly and twisting it to make sure it is fully seated.
If the valve gasket is cracked or damaged, you may be able to apply a small amount of super glue or silicone sealant around the base. However, valve damage often cannot be permanently fixed at home. In that case, contact the manufacturer, especially if your mattress is still under warranty.
Pros: Valve checks are fast and require no materials.
Cons: Most valve issues are not user repairable and may require a replacement mattress.
How to Make Your Air Mattress Repair Last Longer
A good repair can hold for weeks or even months if you take a few extra steps after the initial fix. First, always allow the full recommended cure time before inflating. Rushing this step is the number one reason repairs fail.
Avoid overinflating the mattress after repair. Fill it to about 90% capacity. This reduces internal air pressure on the patched area. Place the mattress on a clean, smooth surface free of sharp objects. A blanket or sheet beneath the mattress adds a layer of protection.
Store the mattress properly when not in use. Fold it gently and keep it away from heat, sunlight, and sharp edges. Inspect the repair periodically and reapply adhesive if you notice the seal starting to weaken.
Pros: Simple habits significantly extend the life of any repair.
Cons: Requires ongoing attention. No DIY fix lasts as long as a professional patch or new mattress.
How to Know When You Should Replace the Mattress Instead
DIY repairs are great for small punctures and slow leaks, but they have limits. If your mattress has multiple holes, large tears along the seams, or a damaged valve that cannot be resealed, replacement may be the smarter choice.
A mattress that deflates fully within a few hours despite repeated repairs has likely reached the end of its useful life. The same goes for mattresses with visible cracking, peeling, or material degradation. Older mattresses made of thinner vinyl are especially prone to this.
If the repair area re opens after two or three attempts, the material may be too worn to hold adhesive. At that point, a new mattress will save you time and frustration. Consider it an investment in better sleep for yourself and your guests.
Frequently Asked Questions
How to fix an air mattress hole on the fuzzy side without a patch kit?
Sand the flocked surface gently with fine grit sandpaper to expose the smooth vinyl beneath. Clean the area with rubbing alcohol and let it dry. Then apply super glue or a DIY shower curtain patch with strong adhesive. The key is removing the fuzzy layer first so the glue can bond directly to the vinyl material.
How to find a tiny pinhole leak in an air mattress?
Inflate the mattress fully and spray soapy water over the surface using a spray bottle. Watch for small bubbles forming on the surface. The bubbles will appear directly over the leak. This method works well even for pinholes that are invisible to the eye. Mark the spot with a permanent marker immediately.
How long will a super glue repair last on an air mattress?
A super glue repair on a small puncture can last several weeks to a few months with proper care. Avoid overinflating, and keep the mattress on a smooth surface. The repair may eventually crack or loosen with heavy use, so check it periodically.
Can you use gorilla tape instead of duct tape for air mattress repair?
Yes. Gorilla tape has a stronger adhesive than standard duct tape and tends to hold longer on vinyl surfaces. Apply it the same way you would duct tape. Round the corners and press it firmly onto a clean, dry surface. It still works best as a temporary fix rather than a permanent one.
Is it worth fixing an old air mattress or should you buy a new one?
If the mattress has a single small hole or slow leak, a repair is absolutely worth it. If the mattress has multiple holes, seam failures, or a broken valve, replacement is the better option. Repeated patching on a worn mattress rarely provides a reliable long term fix.

Hi, I’m Ava Day, the founder and lead writer at Cozy Bed Vault. I’m passionate about sleep wellness and dedicated to helping people find their perfect mattress. Through honest reviews, detailed comparisons, and expert buying guides, I simplify the mattress shopping experience so you can sleep soundly every night.