How to Fix a Water Cooled Mattress Pad That Is Leaking?
You love your water cooled mattress pad. It keeps you cool in summer and warm in winter. Then one morning, you wake up to a damp spot on your bed.
Your heart sinks. A leak can ruin your sleep, damage your mattress, and leave you wondering if your expensive investment is now worthless.
The good news? Most water cooled mattress pad leaks are fixable at home. You do not need special skills or expensive tools. Whether the leak is in the pad itself, the tubing, the reservoir, or a hose connection, there is a solution.
In a Nutshell
- Identify the leak source first. Water cooled mattress pads can leak from the pad surface, the tubing, the hose connections, or the control unit reservoir. Each source requires a different fix, so pinpointing the exact location saves you time and frustration.
- The soapy water test is your best friend. Fill the pad with water, apply soapy water to the surface, and watch for bubbles. This simple method reveals even the tiniest pinhole leaks that are invisible to the naked eye.
- Use the right adhesive for the right material. Vinyl and PVC pads respond well to vinyl specific patch kits and adhesives like Shoe Goo or industrial hot glue. Using the wrong glue (such as rubber based bicycle patches on vinyl) will fail and waste your time.
- Hose and connector leaks are often the easiest to fix. A loose connection, a dirty reservoir seal, or mineral buildup from tap water can cause leaks that look serious but take just minutes to resolve. Always listen for a firm “click” at every connection point.
- Distilled water prevents many leaks before they start. Hard water causes mineral buildup inside tubes and seals. This buildup degrades connections over time and creates leaks. Switching to distilled water and cleaning your system regularly is the best long term prevention strategy.
- Know when to contact the manufacturer. Internal leaks inside the control unit often signal a failed check valve or pump seal. These repairs may require a specific repair kit from the manufacturer or professional help.
Understanding How Water Cooled Mattress Pads Work
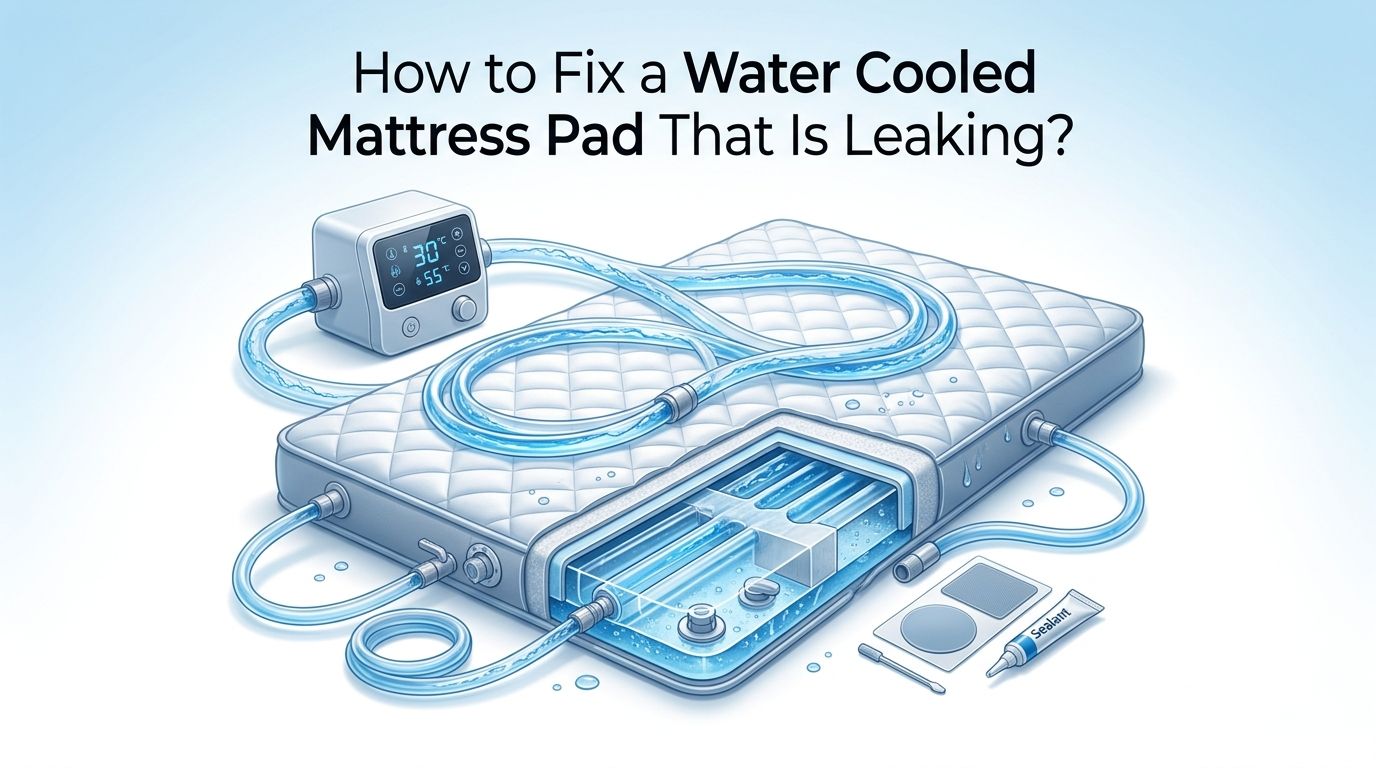
A water cooled mattress pad uses a simple system. A control unit heats or cools water, then pumps it through silicone or PVC tubing embedded inside a thin pad that sits on your mattress. The water circulates in a closed loop, flowing from the unit through the pad and back again.
The control unit contains a reservoir where you add water, a pump that moves the water, and a thermoelectric or compressor based system that adjusts the temperature. Hoses connect the control unit to the pad, usually with quick disconnect fittings.
Because water flows through every part of this system under mild pressure, a failure at any connection point can result in a leak. The most common failure points include the pad surface, the hose connectors, the reservoir seal, and internal components like check valves. Understanding these parts helps you diagnose problems faster.
Common Causes of Leaks in Water Cooled Mattress Pads
Leaks rarely happen without reason. Wear and tear is the most common cause, especially in pads that are two or more years old. The tubing inside the pad can develop micro cracks from repeated bending as you move during sleep.
Hard water deposits are another major culprit. If you fill the reservoir with tap water instead of distilled water, minerals build up on seals and connectors. Over time, this creates gaps where water can escape.
Loose or damaged hose connections cause leaks that pool near the edge of the bed or around the control unit. Sometimes the quick disconnect fittings wear out or do not seat properly. Physical damage from pets, sharp objects, or folding the pad incorrectly can puncture the surface. Even sitting on the edge of the pad repeatedly can stress seams and cause them to separate.
How to Locate the Exact Source of the Leak
Before you fix anything, you need to know exactly where the water is coming from. Start by removing the pad from your bed and placing it on a flat, waterproof surface like a garage floor or bathtub.
Fill the system with water and turn it on. Watch carefully for drips. Check the hose connections first since they are the most common source. Then inspect the area where hoses attach to the pad.
If the leak is in the pad itself, use the soapy water method. Mix dish soap with water in a spray bottle. Spray sections of the pad and look for bubbles. Even tiny pinholes will produce visible bubbles under pressure. Mark each leak location with a piece of tape or a washable marker. Dry the pad completely before attempting any repair, because adhesives will not bond to wet surfaces.
Fixing Leaks at Hose Connections
Hose connection leaks are the easiest and most common fix. These leaks show up as water pooling near the side of the bed where the hoses run or around the base of the control unit.
Start by disconnecting the tubing from both the pad and the control unit. Inspect the quick disconnect fittings for cracks, dirt, or mineral buildup. Clean them with warm soapy water and a soft cloth. Reconnect everything firmly. You should hear a clear “click” at each connection, which confirms a tight seal.
If the fittings are worn or cracked, you may need replacement connectors from the manufacturer. Some users have had success wrapping a thin layer of plumber’s tape (PTFE tape) around the connection point to create a tighter seal. This is a quick temporary fix.
Pros: Fast, free or very cheap, requires no special tools.
Cons: May not hold long term if fittings are physically damaged.
Repairing a Leaking Reservoir or Reservoir Seal
If water accumulates in the reservoir socket or drips from the base of the control unit, the reservoir seal is likely the problem. This is especially common in units that have been filled with tap water, because mineral deposits degrade the rubber seal over time.
Remove the reservoir from the unit carefully. Use a dry towel to wipe down the reservoir seat. Inspect the rubber gasket or O ring that creates the seal between the reservoir and the unit. Look for cracks, warping, or white mineral deposits.
Clean the seal with warm soapy water and a soft brush. If the seal is visibly damaged, contact the manufacturer for a replacement part. Many brands sell individual replacement seals. Make sure the reservoir cap clicks firmly into place when you reseat it. A loose cap is one of the most overlooked causes of reservoir leaks.
Pros: Usually solves the problem completely, replacement seals are inexpensive.
Cons: Finding the exact replacement part can take time depending on the brand.
Patching a Leak in the Pad Surface
A leak in the pad surface is more difficult to repair but still possible. The key is using the right adhesive for the pad material. Most water cooled pads are made from vinyl, PVC, or a similar thermoplastic material.
Vinyl specific patch kits work well for small punctures. Clean the area around the leak with rubbing alcohol. Let it dry completely. Apply a thin layer of adhesive, then press the patch firmly over the hole. Let it cure for the full time listed on the product label, usually 12 to 24 hours.
Some users report great results with Shoe Goo or industrial adhesives like plumber’s goop. Apply a generous layer over the damaged area and let it cure fully before refilling the system. One Reddit user reported using an industrial hot glue gun to seal a leak and sleeping on the repaired pad for over a year without issues.
Pros: Can save a pad that would otherwise need replacement, materials cost under $15.
Cons: Repairs may not hold on seam failures, and the pad must be fully dry for adhesive to bond properly.
Dealing with Seam Separation on the Pad
Seam leaks are the most frustrating type of pad damage. When the welded seam of the pad starts to come apart, the leak spreads quickly because the material is pulling away from itself under the pressure of the water inside.
Heat sealing with a household tool like a hair straightener has mixed results. Some users have managed to re seal short sections of seam, but the repair often fails under pressure when you lie on the pad. The problem is that consumer grade heat tools do not reach the exact temperature needed for a proper weld.
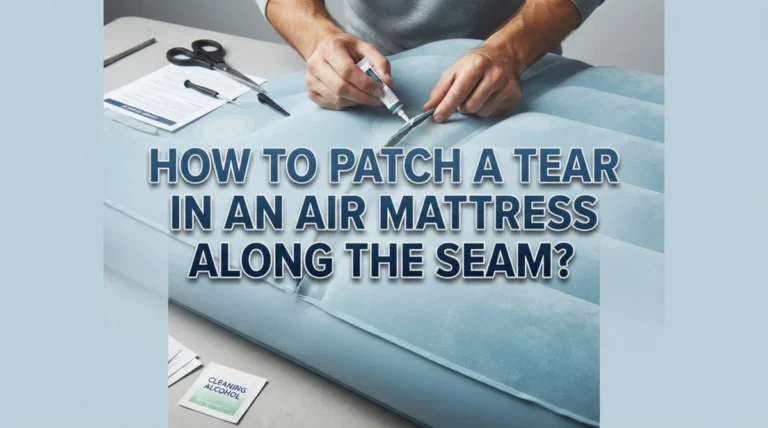
A better approach is to apply a flexible, waterproof adhesive like Shoe Goo along the entire length of the separated seam. Let it cure fully. Then reinforce the repair with a strip of vinyl patch material over the top. This two layer approach gives you a stronger seal than adhesive alone.
Pros: Can extend the life of the pad significantly if done carefully.
Cons: High failure rate on large seam separations; the pad may need full replacement if the seam damage is extensive.
Addressing Internal Leaks in the Control Unit
Internal leaks are identified by water pooling underneath the control unit while the reservoir socket stays dry. This usually means a component inside the unit has failed, such as a check valve, a pump seal, or a cracked internal fitting.
Start by disconnecting the tubing from both ends. Reconnect it firmly and check if the leak stops. If it continues, the problem is inside the unit. Some manufacturers sell repair kits that include replacement check valves and seals. One brand provides step by step guides for replacing the check valve, which is a common failure point.
If you are comfortable opening electronics, you can inspect the internal tubing and connections yourself. Look for cracks in plastic fittings or degraded rubber seals. Always unplug the unit and drain all water before opening it. If the damage is beyond a simple seal replacement, contact the manufacturer or a qualified repair technician.
Pros: Repair kits from manufacturers are targeted to the exact issue.
Cons: Opening the unit may void any remaining warranty; internal repairs require more technical skill.
Using Distilled Water to Prevent Future Leaks
One of the simplest steps you can take to prevent leaks is to use distilled water in your system. Tap water contains minerals like calcium and magnesium that leave deposits inside tubing, on seals, and around connectors.
Over time, these deposits create rough surfaces that prevent proper sealing. They also narrow the internal diameter of tubing, which increases water pressure and stresses connections. Distilled water contains no minerals and keeps your system clean for much longer.
If you have been using tap water, flush the entire system with distilled water several times. You can also run a manufacturer recommended cleaning solution through the system to dissolve existing mineral buildup. Make this part of your regular maintenance routine every three to six months.
Regular Maintenance to Avoid Leaks
Prevention is always cheaper than repair. Establish a simple maintenance routine to keep your water cooled mattress pad in top condition for years.
Every month, check the water level in the reservoir and top it off with distilled water. Inspect hose connections for any signs of moisture or looseness. Every three to six months, drain the system completely and run a cleaning solution through it. This removes any biofilm, algae, or mineral deposits that may have formed.
Check the pad surface regularly for signs of wear, especially near the edges and along seams. Avoid folding the pad when storing it. Folding creates sharp creases in the internal tubing that can develop into cracks. Roll it loosely instead. Keep pets away from the pad if possible, as claws can easily puncture the thin surface material.
When to Replace Instead of Repair
Sometimes a repair just is not worth the effort. If your pad has multiple leaks across different areas, the material is degrading broadly and patching one spot will only lead to another leak nearby.
If the seams are separating in several places, the structural integrity of the pad is compromised. Continued repair attempts will likely fail, and you risk water damage to your mattress. A leak inside the control unit that persists after replacing seals and check valves may indicate a cracked housing or pump failure.
Consider replacement if the total cost of repair parts and your time approaches 50% or more of the cost of a new pad or unit. Also consider replacement if the pad is more than three to four years old, since materials naturally degrade. Before buying new, check if the manufacturer offers refurbished units at a lower cost.
Protecting Your Mattress from Water Damage
While you diagnose and fix the leak, protect your mattress from water damage. Place a waterproof mattress protector between the cooling pad and your mattress. This creates a barrier that catches any leaks before they soak into your mattress foam or springs.
If your mattress has already gotten wet, remove all bedding and the pad immediately. Stand the mattress on its side in a well ventilated room. Use fans to speed up drying. Mold can start growing in a wet mattress within 24 to 48 hours, so act quickly. Sprinkle baking soda on any damp areas to absorb moisture and neutralize odors.
A waterproof protector is an inexpensive investment that can save you from replacing a mattress that costs many times more than the protector itself. Always use one under any water based sleep system.
Step by Step Summary of the Repair Process
Here is a clear overview of the entire repair process from start to finish. Step one: remove the pad from the bed and place it on a flat, waterproof surface. Step two: turn the system on and visually inspect all hose connections, the reservoir, and the control unit base for drips.
Step three: if no visible leak is found, use soapy water on the pad surface to locate hidden punctures. Step four: mark every leak location and drain the system completely. Step five: dry the pad or component thoroughly.
Step six: choose the correct repair method based on the leak source. Use reconnection or plumber’s tape for hose leaks, adhesive and patches for surface punctures, seal cleaning or replacement for reservoir leaks, and manufacturer repair kits for internal issues. Step seven: let all repairs cure fully before refilling the system. Step eight: test the system for 24 hours on a waterproof surface before placing it back on your bed.
Frequently Asked Questions
Can I use regular tap water in my water cooled mattress pad?
You can, but it is not recommended. Tap water contains minerals that build up inside the tubing and on seals over time. This buildup leads to poor connections and eventually causes leaks. Distilled water is the best choice for all water cooled mattress pad systems. It keeps the internal components clean and extends the life of your pad significantly.
How do I find a tiny pinhole leak in my cooling pad?
The soapy water test is the most effective method. Mix a few drops of dish soap with water in a spray bottle. Fill your pad system with water and spray the surface section by section. Look closely for small bubbles forming. Even a very tiny hole will produce visible bubbles. Mark each spot with tape before you start repairs.
What is the best adhesive for patching a water cooled mattress pad?
For vinyl or PVC pads, use a vinyl specific adhesive or a flexible waterproof glue like Shoe Goo. Industrial hot glue applied with a high temperature gun has also shown good results for some users. Avoid rubber based adhesives like bicycle tire patch glue, because they are made for rubber and will not bond properly to vinyl or PVC surfaces.
How often should I clean and maintain my water cooled mattress pad?
Check your water level monthly and top off with distilled water. Every three to six months, perform a full system drain and flush. Run a cleaning solution through the system to remove biofilm and mineral deposits. Inspect all hose connections and the reservoir seal during each maintenance session.
Is it safe to sleep on a repaired water cooled mattress pad?
Yes, as long as the repair has fully cured and you have tested the system for at least 24 hours on a waterproof surface without any new leaks. Always place a waterproof mattress protector under the pad as an extra safety measure. If a repair fails during testing, consider a different repair method or replacement.
Should I try to fix an internal control unit leak myself?
If you are comfortable with basic electronics and the unit is out of warranty, you can attempt it. Start by checking the manufacturer’s website for repair guides and specific repair kits. Always unplug the unit and drain all water first. However, if you are unsure, contact the manufacturer’s support team or a qualified technician to avoid causing further damage.

Hi, I’m Ava Day, the founder and lead writer at Cozy Bed Vault. I’m passionate about sleep wellness and dedicated to helping people find their perfect mattress. Through honest reviews, detailed comparisons, and expert buying guides, I simplify the mattress shopping experience so you can sleep soundly every night.